Go California campsite scouting in winter to make plans for spring, summer, and fall! This is a little tutorial for first time campers to give you a little insight into how campground culture works when picking a spot.
Many campgrounds turn to booking spots on a "first-come" basis in the winter. Parks get needed maintenance when the crowds are low. I think this is the perfect time to get your family all set for camping during the warmer months.
My husband and I got away for a rare overnight getaway road trip without the kids. That meant we could take our time and pull off the freeway when we saw a campground we might like to check it out. It got me wondering if anybody else does this or even knows you can?

Step 1 - Find Campgrounds in Your Area or Along Your Travel Route
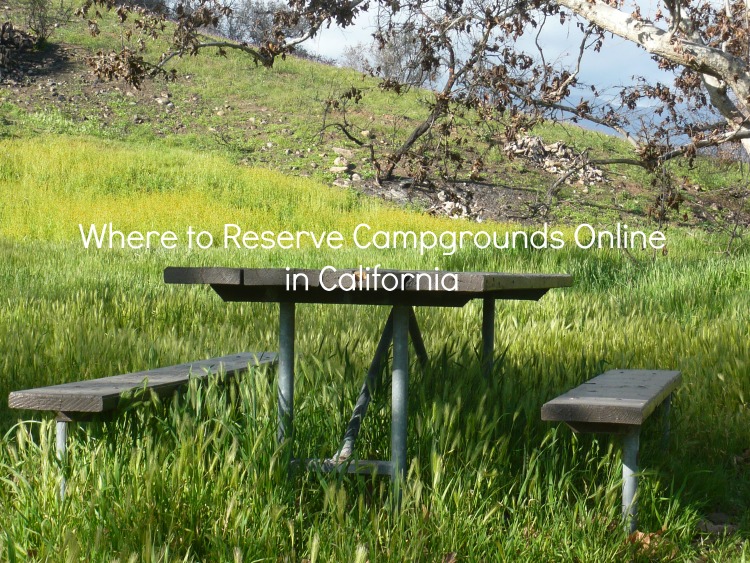
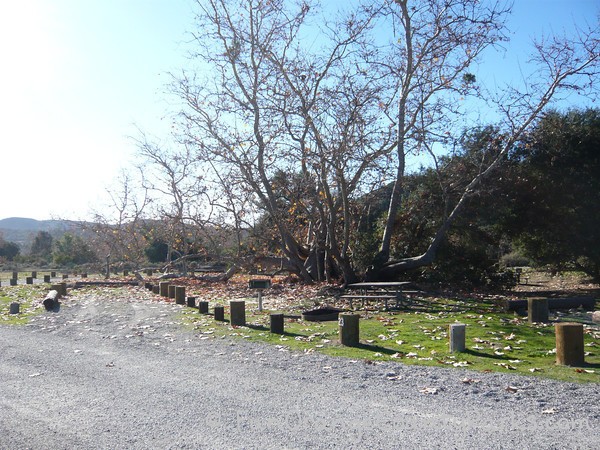
Look at a map or search the web to find potential campgrounds for your family. Then check online to confirm if/when they are open during winter months. I just wrote up a post called "Where to Reserve Campgrounds Online for California" which has some good sites for online scouting. Just remember, that in-person visits are much more reliable. I know it sounds ridiculous, but here are some reasons why what you see online might not be what you see when you get there:
- Sometimes rivers change course or flood - over campsites.
- Trees get chopped down or lose branches.
- Bridges go out.
- Beaches get bulldozed to build a massive sand berm in front of what used to be an ocean view.
- Whole campground loops close for repairs.
- Restrooms might close for repairs.
Step 2 - You Need a "Driver" and a "Map-Marker"
This can be an adult and a kid who can read a map and write. Or Mom driving, with Dad marking the map. Whatever works for you! But you won't be able to do it on your own. However, if you ARE on your own . . . do the driving/scouting, keep a mental checklist, and then park back at the ranger station to mark your map on the way out.
Step 3 - Check In With the Ranger and Ask for a Campsite Map
Did you know you can usually do this for FREE? Even if it's a State Park or other property with day-use fees? You get a map for free and limited entrance for free. It's an honor system thing - and by respecting the privilege to gain access it will help ensure this awesome benefit sticks around for the rest of us. So, no dilly-dallying or having a picnic! You get the free pass to enter, but it's just to drive around the campground and scout out sites. Then you need to either go back and pay the day use if you want to stay -- or go on your merry way.
Step 4 - Have It In Your Mind to Pick Your Top 3 - and Mark the Loop You Prefer
Start a mental priority list as you drive slowly through the camp. I kinda keep a "this is the best one we've seen so far" list and then the best one gets bumped when we see a better one. Usually there will be a pattern and the sites we like will be grouped together.
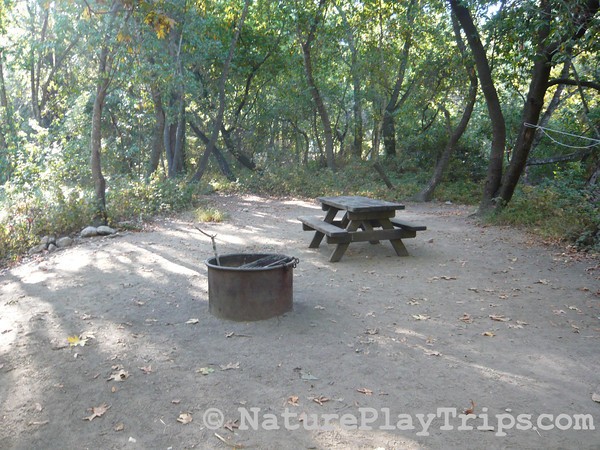
But, Michele, how do I know if it's a "good" site? Well, it's different for EVERY family. Maybe you like shade and trees, but others feel claustrophobic and cold . . . wanting sun and wide open spaces away from close neighbors. I usually pick sites with a view where we can have a little privacy around the campfire at night -- and preferably not right on top of my neighbor. It's really an intuitive thing rather than a black-and-white decision."
Camping Glossary: Campgrounds are often set up in "loops" to give you a little more privacy from your neighbors, as compared to straight parking lot style campsites which are suited more for RV camping. Usually, one of the loops will stand out as the one you prefer.
Step 4 - Mark Up the Map and Write Notes
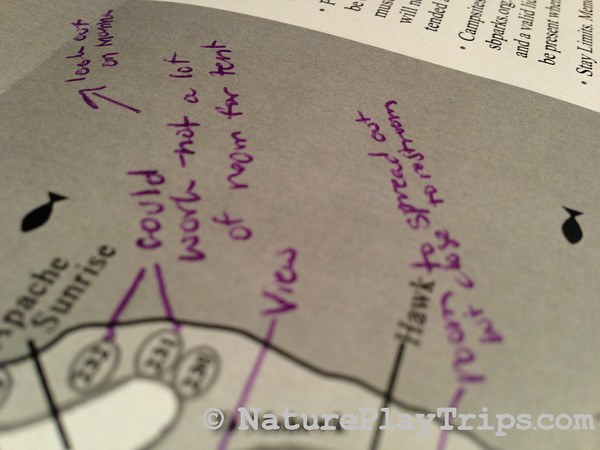
Write notes as you go!
- Nice view.
- Private.
- Near restroom.
- NASTY restroom - don't camp near here.
- Loud. Near freeway.
- Like this loop!
I guarantee you won't remember details after you leave.
Step 5 - Thank the Ranger Upon Leaving and Ask About the Best/Worst of Camping
The Ranger holds a wealth of information about when and where to camp. If they aren't busy, pick their brain before you go. They are there as a resource!
Step 6 - When You Get Home, Ask Friends for Their Experiences
Ask your friends about their camping experiences and what they thought was a good campsite at the place you visited. I purposely put this at the end, because it's often nice to come to your own conclusions before being influenced by others who might not have the same priorities as you.
Step 7 - Start a "Camping Spots" File
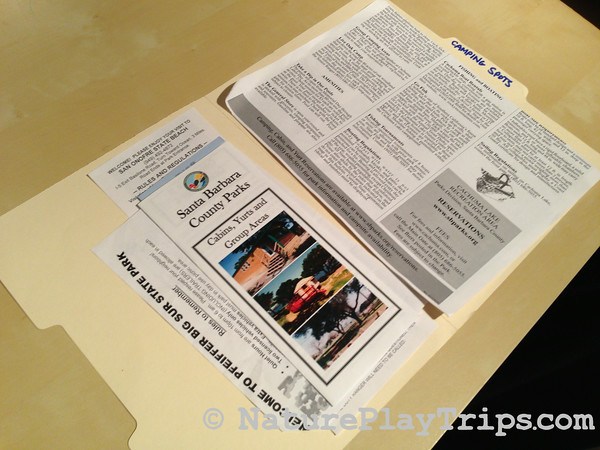
I just took this step after scribbling notes in all different places. I finally tracked down all my notes and put them in one folder. Now I can use it as a resource when the window opens up to reserve spots online!
And if you're new at camping, I always recommend going with "camping friends" the first time. You will pick up tricks I could never write in one blog post. And different friends will have different tricks.
More Camping Posts: